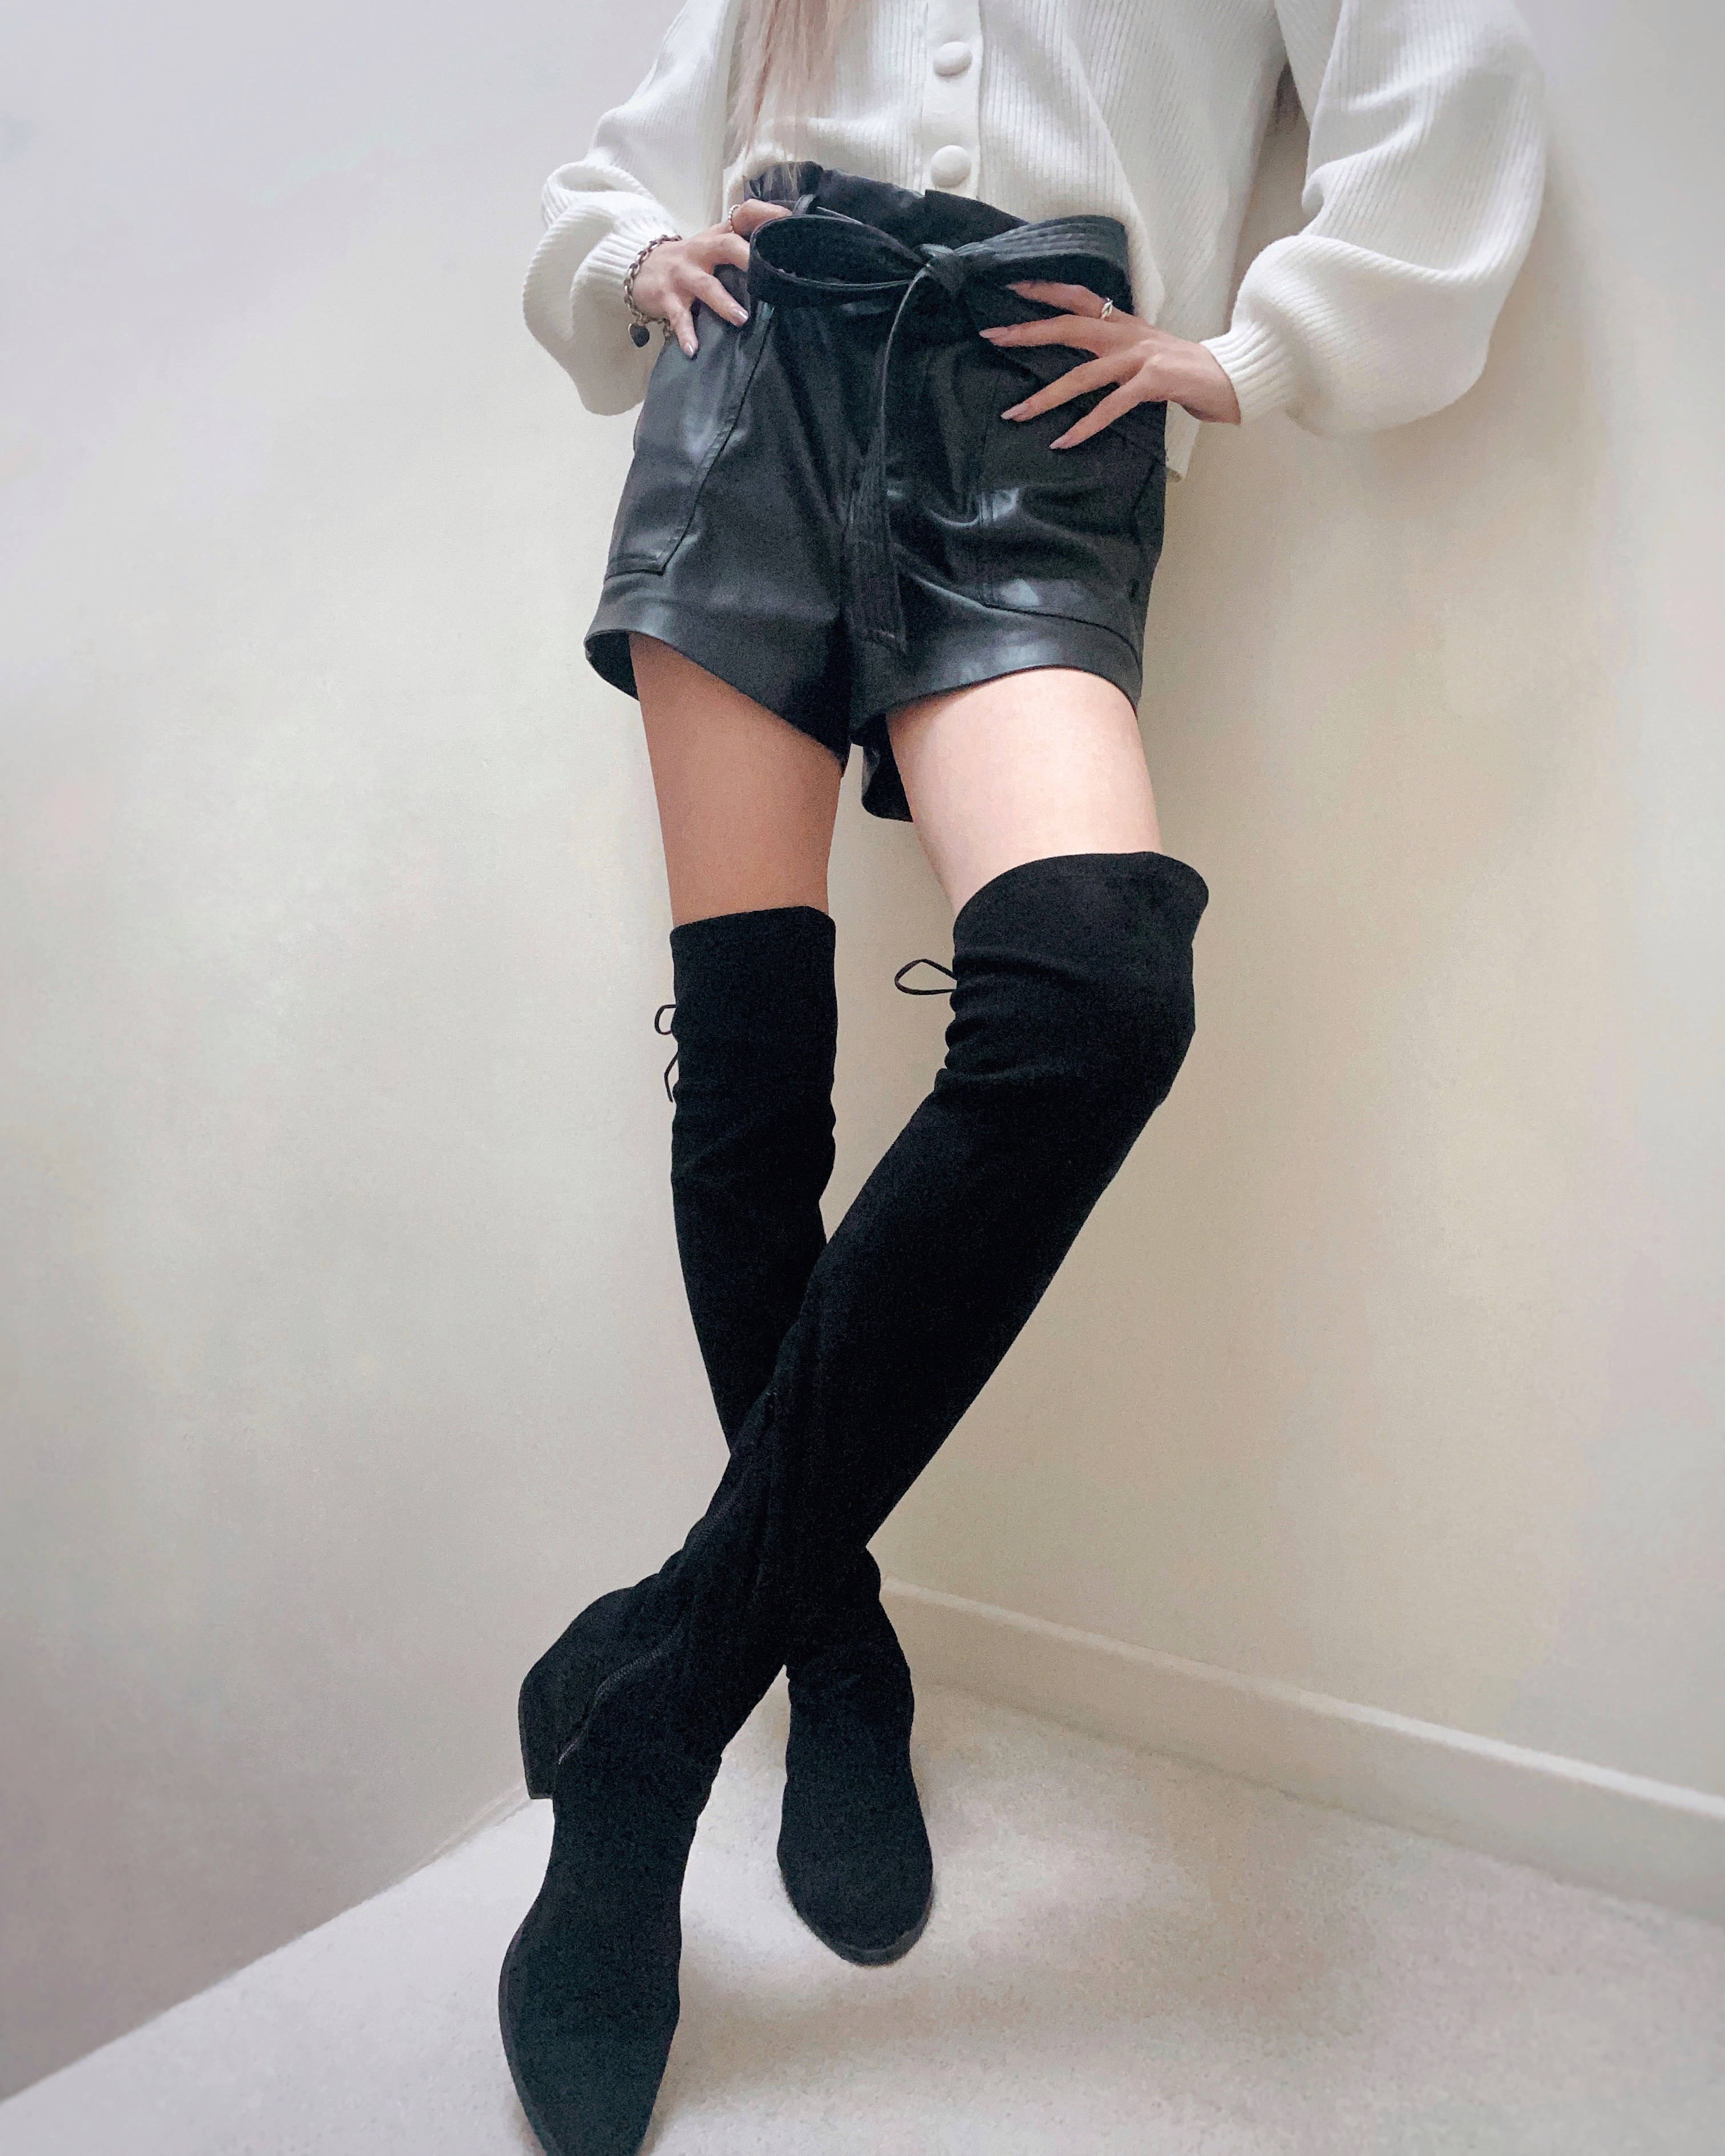

For anyone who owns a pair of over-the-knee boots, you’ll know the struggle of them constantly falling down. They stay up for awhile in the beginning but overtime, the soft leather tends to stretch out and start slouching. I’ve owned a pair of over-the-knee boots for two years now so I know the struggle. I loved them at first but this year especially, they started falling below the knee to an annoyingly frequent level. No one wants to buy over-the-knee boots just so they can keep falling down.
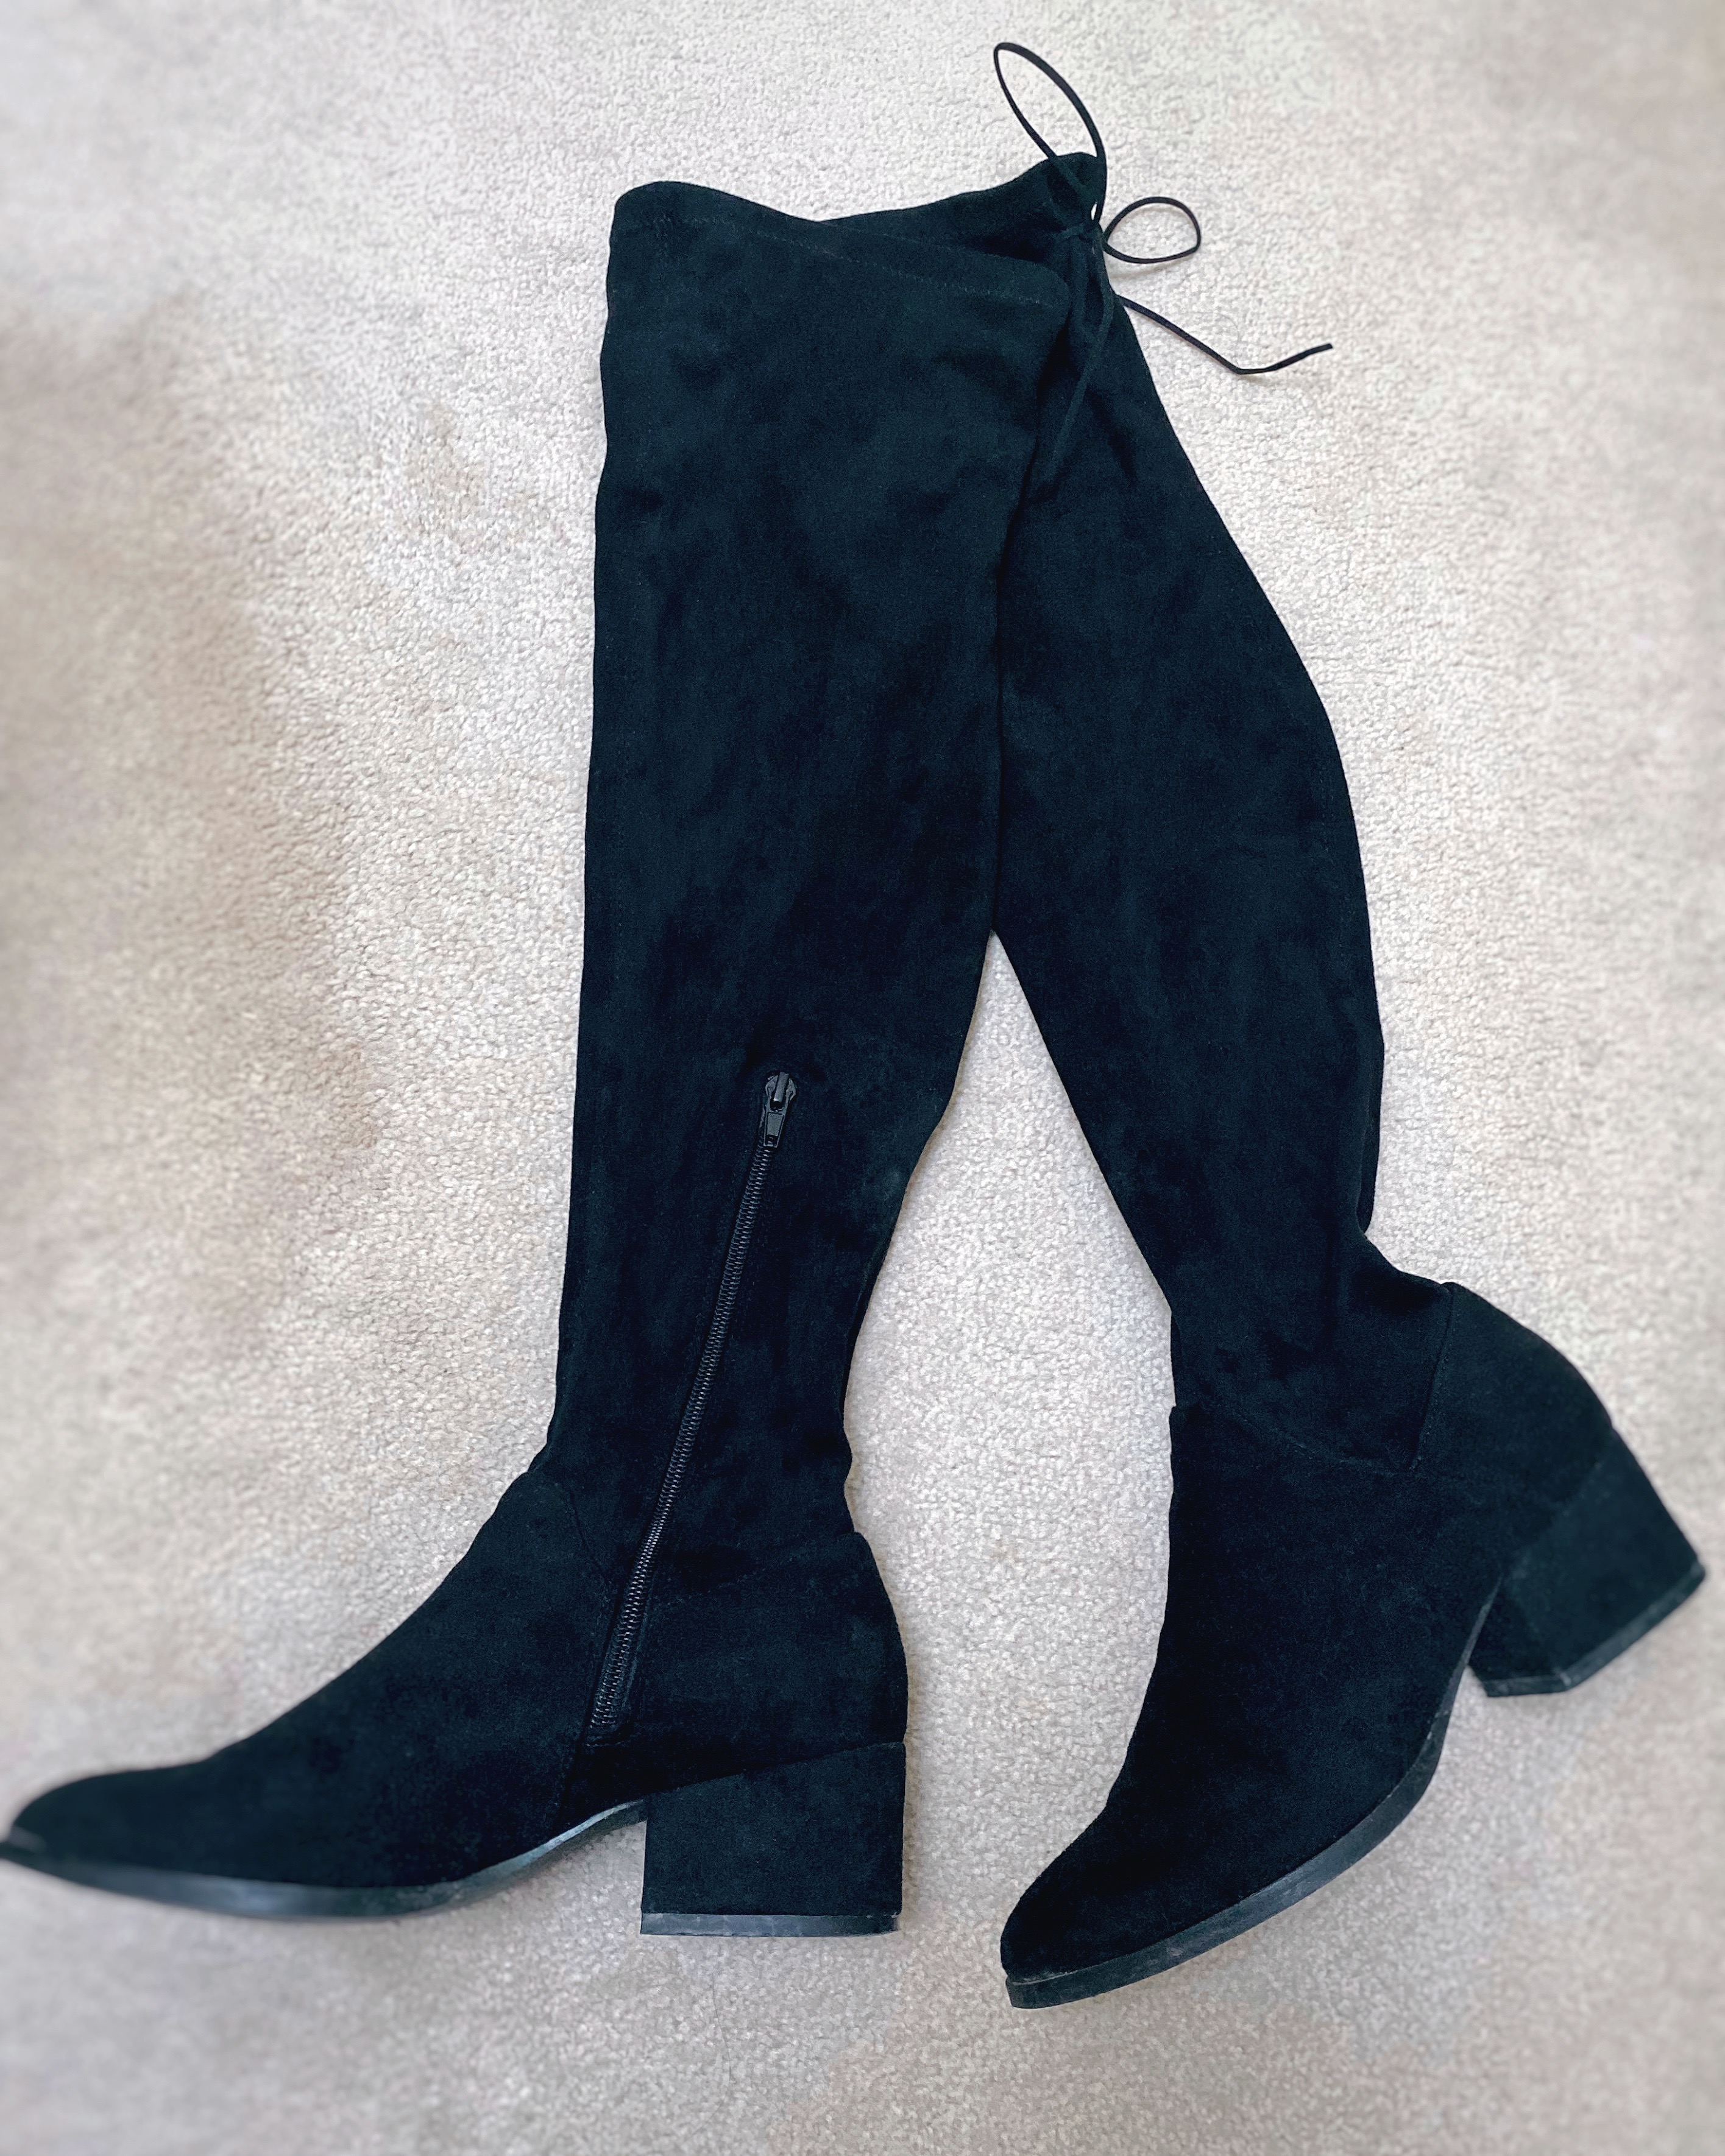
That’s why I started thinking of how I can give them a quick and easy fix without buying a new pair altogether. I found the leather on my Steve Madden boots a bit on the flimsy side so I figured a sturdier leather would help them stay up. Well times have been rough and I don’t have the budget to shell out a couple bills to buy new boots at the moment. Instead, here’s a DIY boots hack to keep your OTK boots from slouching – while adding a touch of style. Read on to see the step-by-step process on how I upgraded my boots!
An Easy Fix to an Annoying Situation:
To help your boots from constantly falling down, you can easily attach a piece of leather cording to the back to adjust tightness. I know that the top of the boot had stretched out overtime so adding a piece of matching leather to the back would be a fun way to jazz up your boots, while helping them fit again. If you have a pair of over-the-knee boots lying around that aren’t looking fitted anymore – don’t get rid of them just yet. All you need are three items to do this simple and easy DIY hack. The entire project can be done in less than an hour with no sewing required.

Tools You’ll Need:
The three items that you’ll need include at least two yards of leather cording, an awl tool to pierce the leather with and a piece of fabric chalk to mark your holes. I chose a sueded cording that matched perfectly to the texture of my boots. All three items can be found at a Michael’s Craft Store for less than $20 altogether. If you’re on a budget, this DIY is perfect for those wanting to spice up their boots without spending so much. I already had two of these items lying around at home so in reality, I only spent about $6 for the leather cording to help my boots feel fitted again.

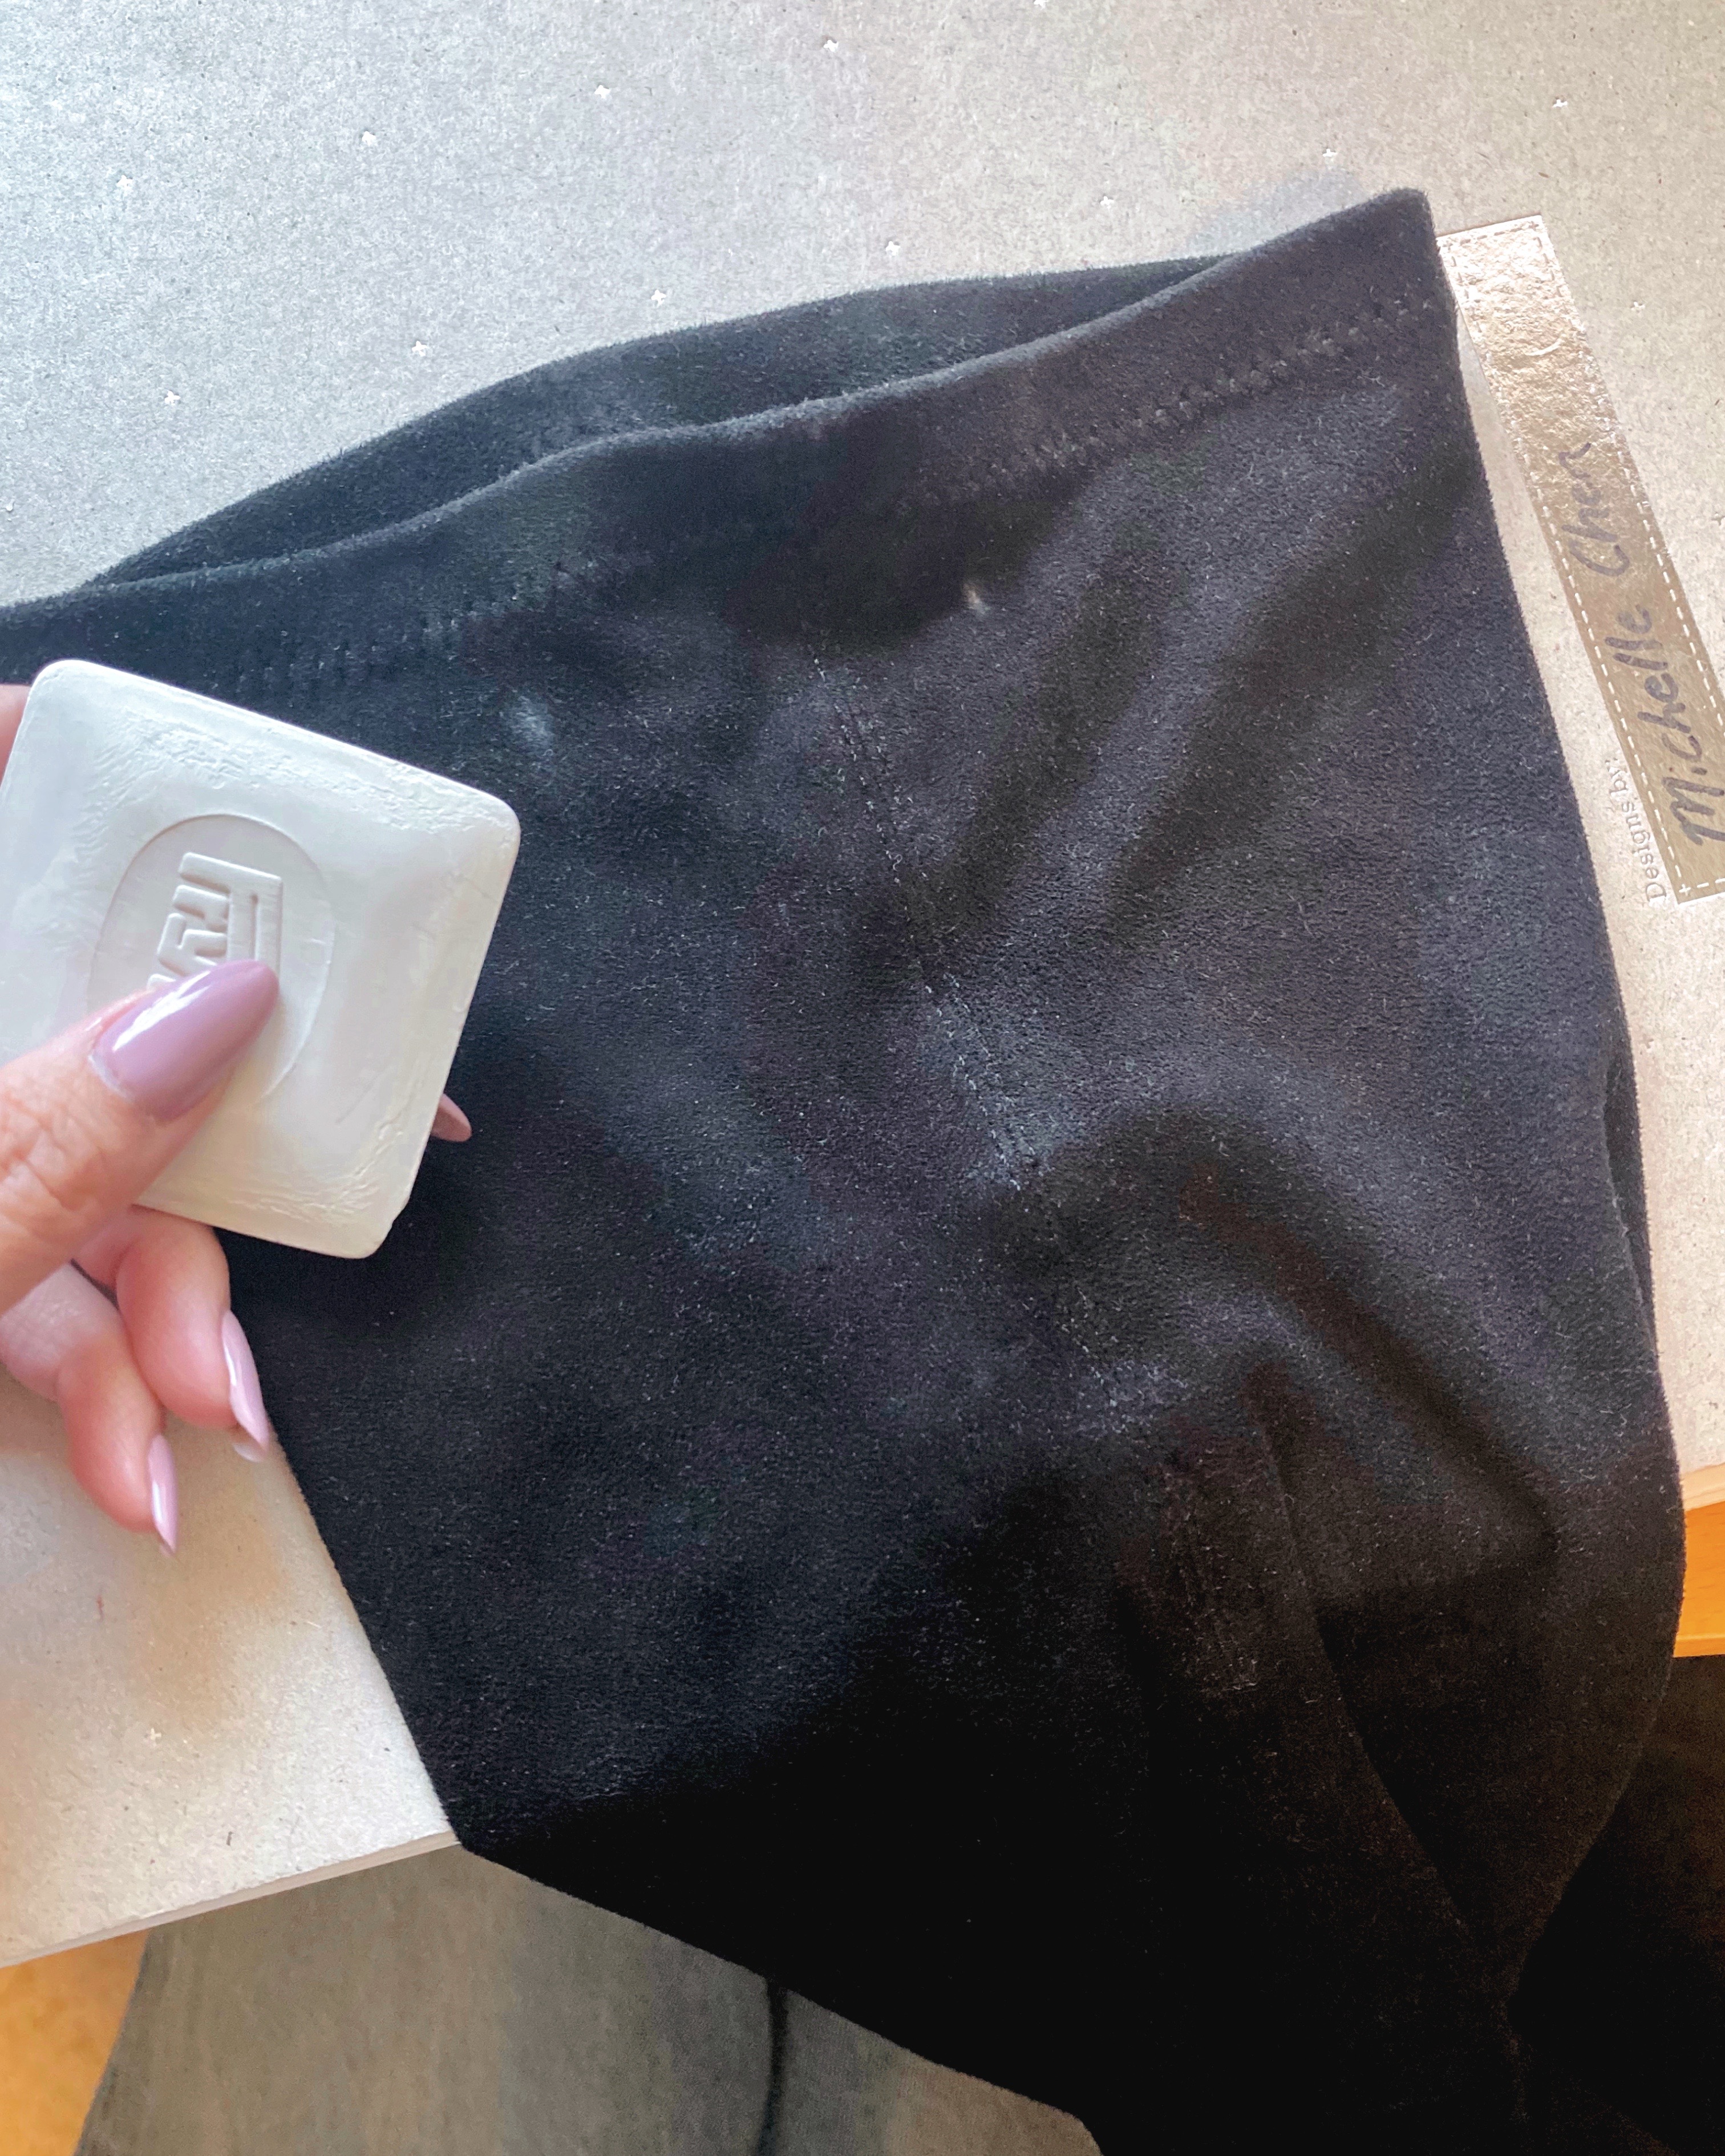
1. Mark Where You’d Like to Drill Your Holes.
The first thing you’re gonna want to do is figure out how much you want to take out from the back. Try them on and see how much excess fabric you have. For me, I had to take out about 2 inches in total so that would equal to one inch from each side. The easiest way to do this is by folding your boots at the seam in the back (where the stitching is) and measure one inch out. Then you’re going to decide how far from the top you want to make these holes; I also did about 1 inch from the top. I did everything just by eyeballing – you can always use a ruler if you want to be more precise.

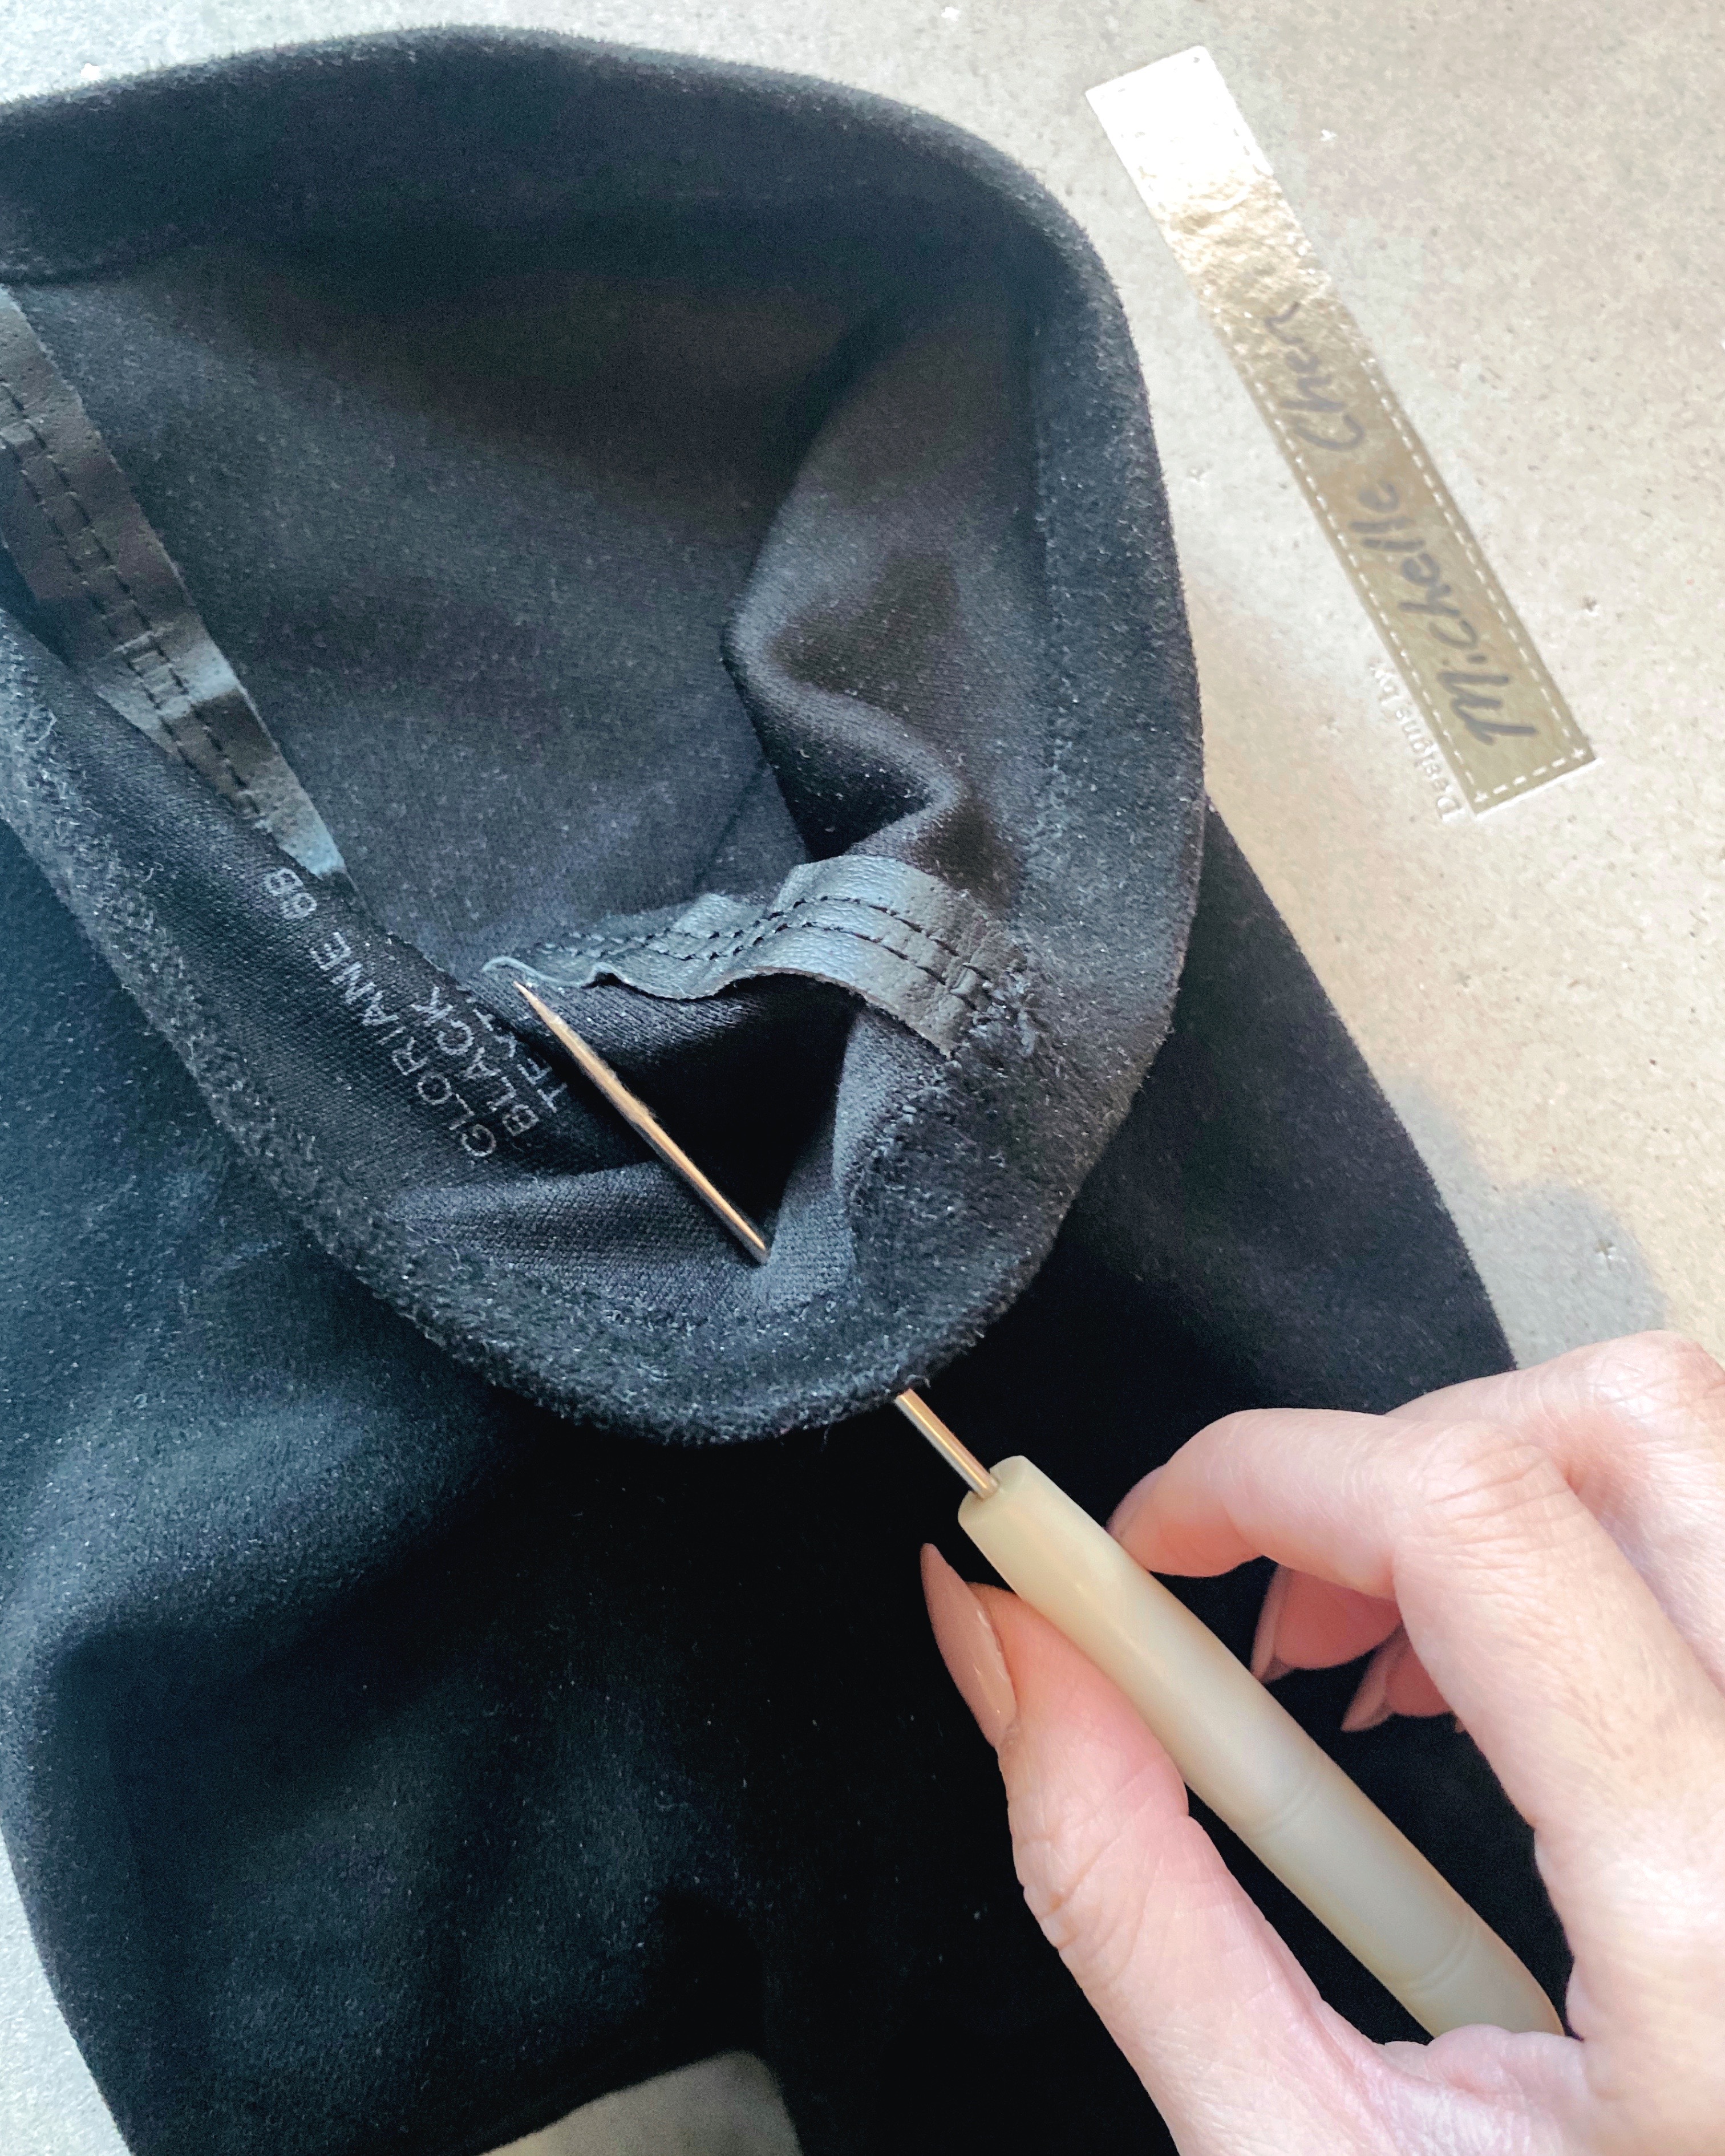
2. Start Drilling the Markings With Your Awl.
After you’ve marked your two hole positions and double checked that that’s where you really want them, you can start drilling. I’d suggest going from the outside to the inner layer so that the excess fabric faces inwards instead of out. Grab the fabric firmly and don’t be scared to apply as much pressure as possible until it pierces through. After you’ve successfully pierced the fabric, you’re going to want to do a drilling motion repeatedly so that the hole widens enough for the cording to go through. You can do this by doing a circular motion so that the leather can stretch out smoothly.


3. Pierce the Other Side Exactly the Same Way.
After you took the time to make sure the hole is wide enough to thread the cording through, you can do the same thing for the second hole. This should be easier the second time around as you’ve already gotten practice and aren’t hesitant to pierce the leather this time. Just make sure the holes are even on each side. You can do this by folding the fabric in half again to see if the hole is at the same location as the other. It doesn’t have to be perfect, it should just generally line up for best results.
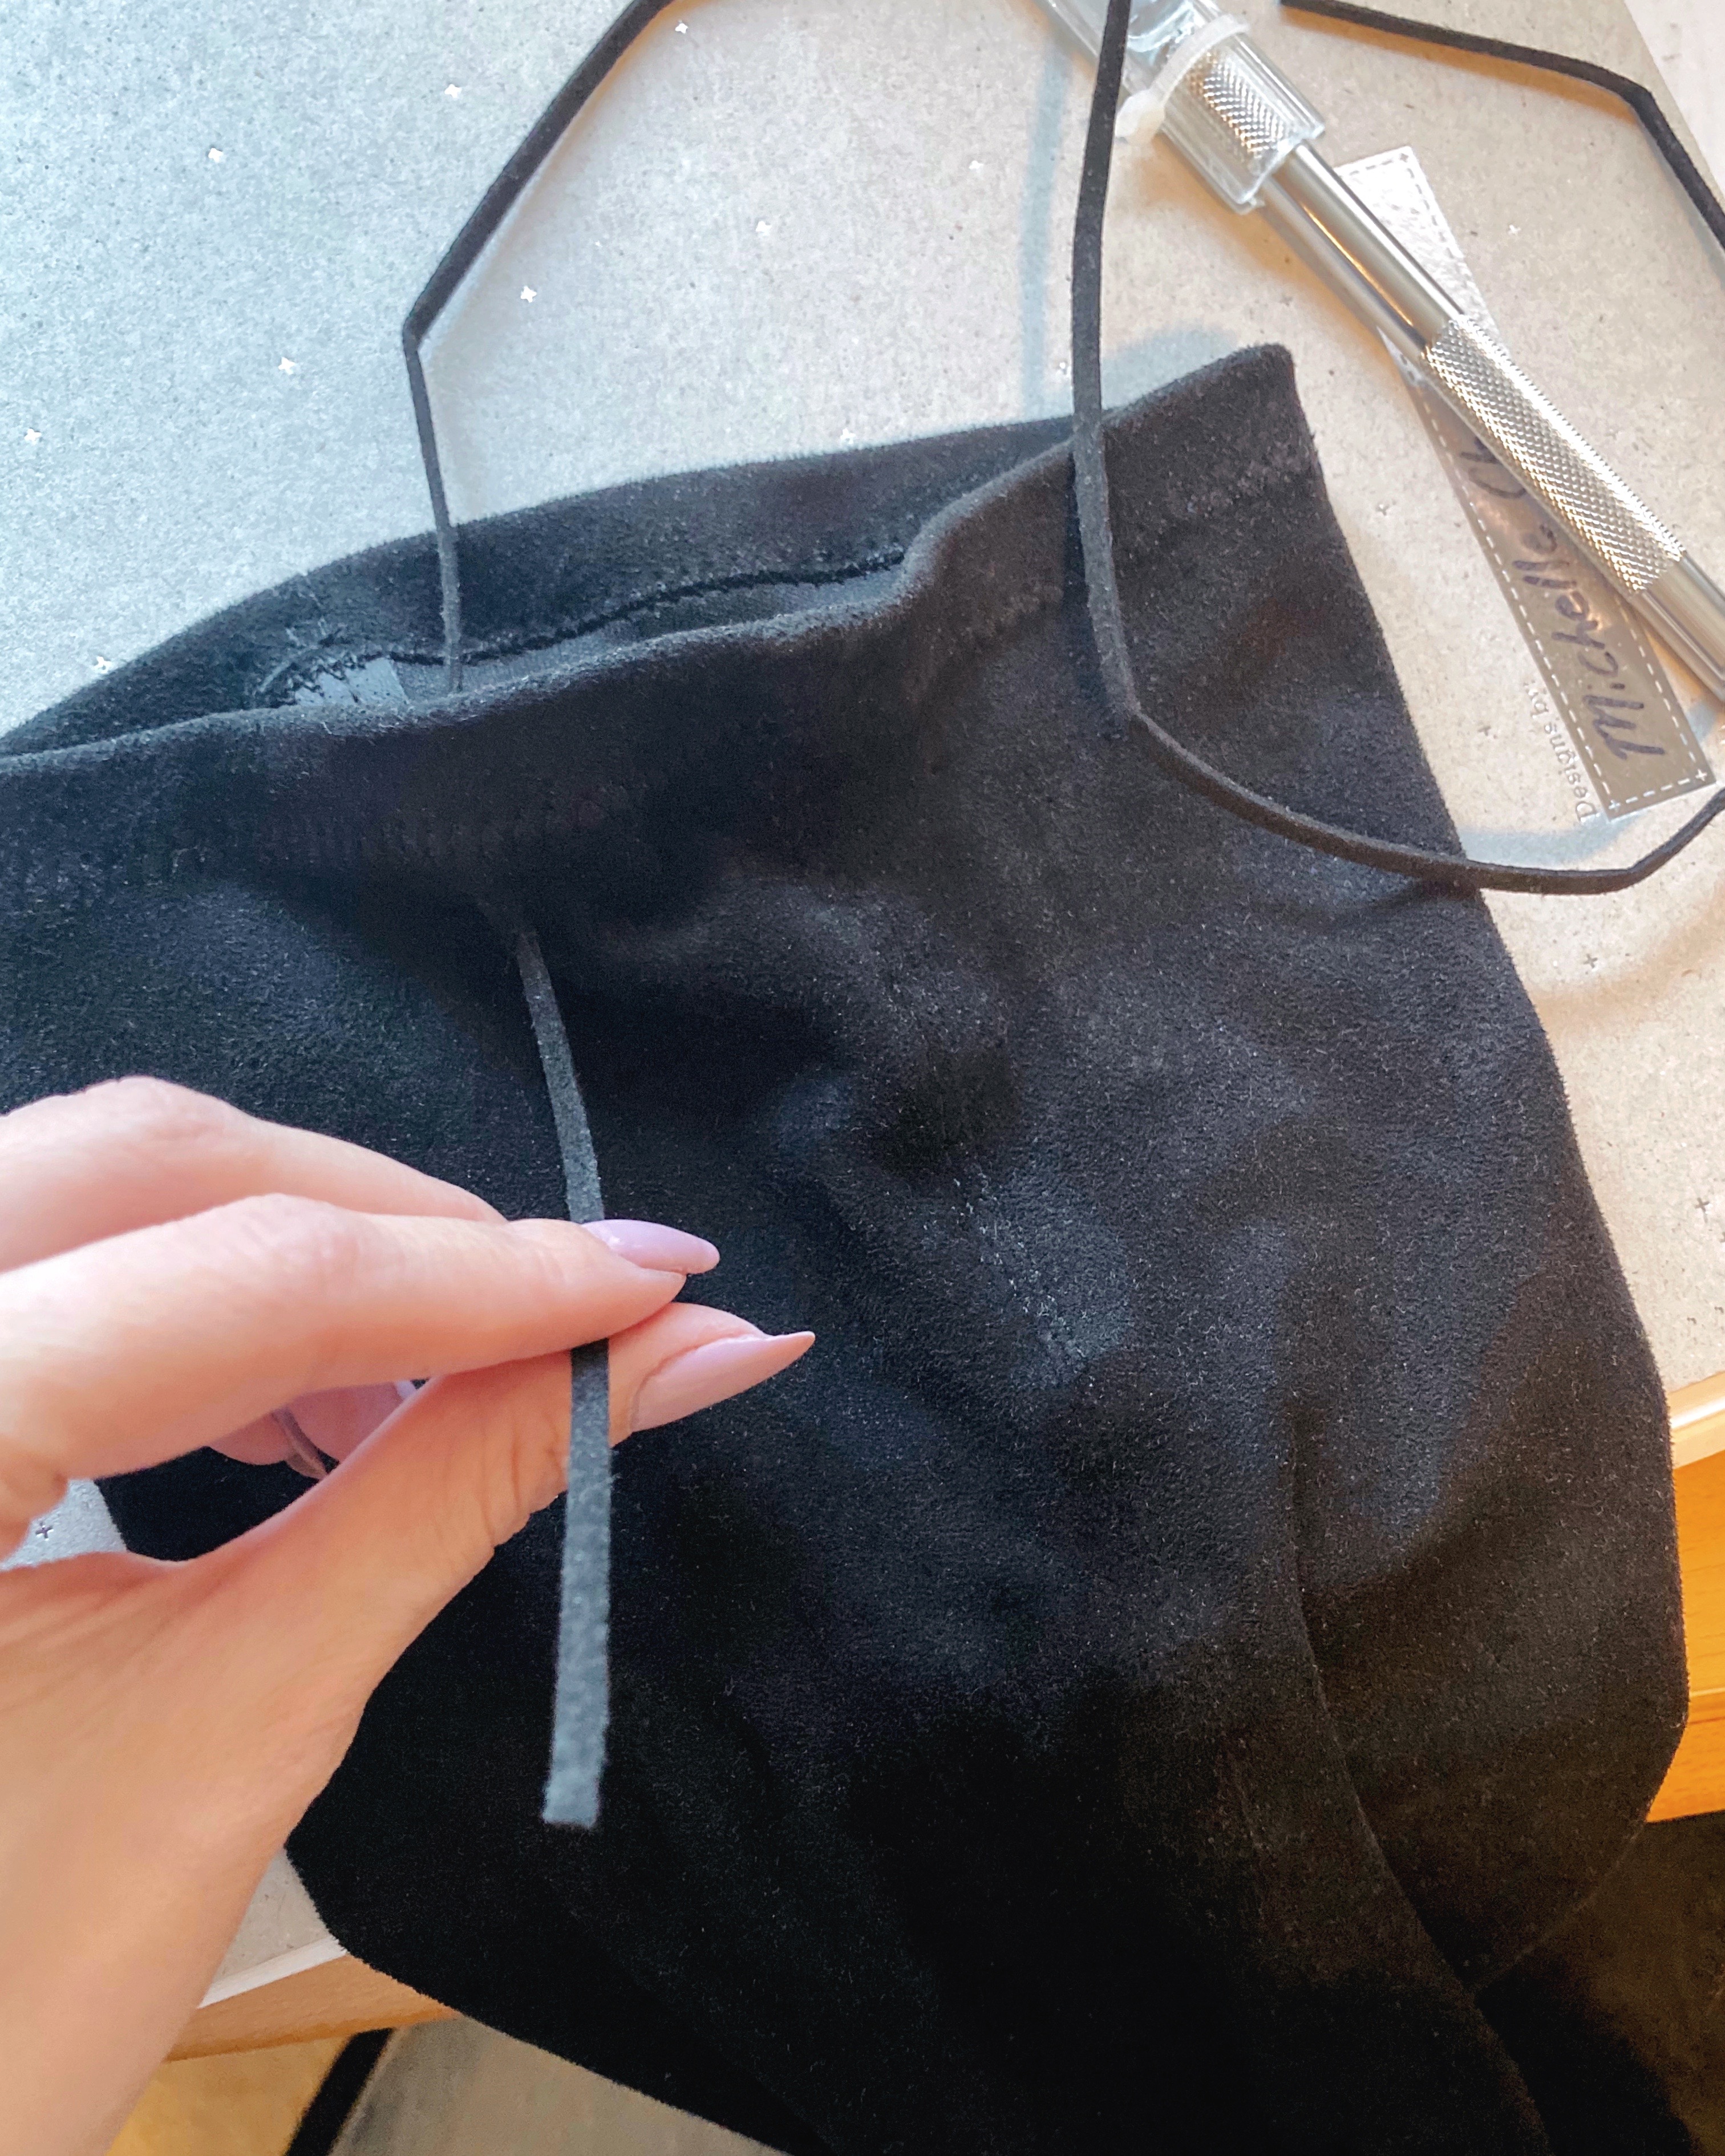
4. Cut the Cording to Your Liking and Thread It Through Each Hole.
This is probably the trickiest part but once you successfully get it through, you’re home free. First, decide how much of the cording you need on each side. I cut about 3/4 of a meter each piece to be safe. It ended up being a bit longer than I needed but I rather have a bit extra to work with than realize I cut it too short. After you’ve cut your two strips of leather, you can start threading it through the holes you just made.
This time, you’re going to have to start from the inside out because you’ll be tying it on the other end afterwards. It takes a bit of time to keep pushing it through as the hole may still be a bit tight. In this case, just use your awl to keep stretching it out and an exacto knife, if you have, to help cut away any extra fabric shavings. With some patience, you’ll be able to get the cording to the other side.


5. Tie a Bow at the Back and You’re Done!
After you’ve successfully threaded both sides of the leather strip to the outside, you’re pretty much done! Just even out the strip on each side and then tie a tight bow at the back to adjust the size of your boot opening. When you’re happy with the size and look of the bow, you can snip away any excess from the ends if you find it to be too long. I found it to be a tad long for me so I did a few snips to get it perfect. The cording might also be a bit crinkled from being in the packaging for too long but that shouldn’t be a problem as it’ll naturally smooth out overtime.
Repeat steps for the other boot and you’ve completed your DIY hack!

This DIY hack to keep your boots from slouching only takes less than an hour of your time but afterwards, you’ve got well-adjusted boots to rock all through fall. After finishing this mini project, my boots fall down a lot less and they feel more fitted to my skinny legs. As long as they stay up past the knee – I’m pretty happy. Best part is that the bow also adds a touch of style to the back of the boot. These knee-high Steve Madden boots look like they just got an upgrade and none would be the wiser that you did it yourself.
If you’re looking for a simple DIY that’s cost-efficient, you should try this one out. Anyone with a pair of stretched-out boots could essentially do this boots hack. Nothing looks sloppier than a pair of knee-high boots that keep slouching so before you throw them out, here’s a simple solution for you. It’s also an easy way to help your boots stay up without any sewing required. All in all, this one requires minimal crafting skills and no doubt, anyone can do it!
As an Amazon Influencer, I earn a small commission on all Amazon products featured in this post.
If you enjoyed this post and would like to see more like these, please subscribe to my mailing list and follow me on Instagram @michellesinstyle!
![]()
Outfit Details:
Steve Madden Boots | M Boutique Leather Shorts | Zara Cardigan